Introduction
In order to effectively change the look and usefulness of your furniture or cabinet, it is important that you install drawer pulls. It gives a new look without much effort. The article aims at helping novices as well as experts on do-it-yourself learn how to install drawer pulls with professional accuracy. We will go through tool selection, types of drawer pulls and step-by-step guide on fitting them with perfection. If properly handled, your furniture’s accessories can be both good-looking and functional; this will improve the overall attractiveness and usability of the cabinets.
Preparing for Your Drawer Pull Installation
Tools and Materials You Will Need
Before beginning installation process, one must always gather some tools and materials required for proper installation. Must have objects are drill, drill guides, screwdriver(s) and perhaps cabinet hardware jig if you want accuracy in alignment. A tape measure will help ensure correct placement of handles or pull tabs while a sheet of cardboard can be used as an improvised pattern for uniform positions on several drawers. Moreover, keep duct tape so that accurate drill points may be marked without spoiling the wood panel finish on these cabinets.
Understanding Drawer Pull Types and Sizes
Drawer Pull Types
When selecting drawer pulls, it is important to choose the right type and size, in order to ensure that your cabinets are functional as well as pleasing to the eye. There are different types of drawer pulls that can suit various styles and uses.
Knobs:
- Application: Suitable for small drawers and cabinets.
- Usage Scenario: Perfect for minimalist designs and traditional styles. They come with an easy installation process; they have a plainness character feature. In this case, they are best suited for kitchens, bathrooms as well as furniture which requires mild touch.
Handles:
- Application: Suited for larger drawers or cabinets.
- Usage Scenario: Handles come with a stronger grip hence very good when dealing with heavy drawers or those used repeatedly. It is common in kitchens and workshops where using them should be easier.
Cup Pulls:
- Application: Excellent on drawers.
- Usage Scenario: In modern homes or antique kitchen decors you will easily see cup pulls being employed here. They are comfortable to handle and tend to occur often on dresser drawers’ fronts, sideboards, kitchen drawer front among others.
Bar Pulls:
- Application: Modern and versatile.
- Usage Scenario: Bar pulls are sleek in design making them suitable for contemporary kitchens and bathrooms. Their lengths vary so that both smaller and larger drawers may use them.
Recessed Pulls:
- Application: Good for minimalist looks.
- Usage Scenario: These handles lie flush with the front of the drawer so that there is no protrusion from their sides.Their usage mostly occurs in interior spaces such as those having modern or industrial themes where space economy is an issue.
Drawer Pull Sizes
The size of the drawer pulls that you should choose will depend on the size of the drawers and the design that you want to create. Below is a table outlining common pull sizes and their suitable applications:
| Drawer Width (inches) | Pull Length (inches) | Application Scenario |
| Less than 12 | 3-4 | Small drawers and cabinets, offering a delicate and proportionate look. |
| 12-30 | 4-6 | Standard-sized drawers, common in most kitchens and bathrooms. Provides a balanced and functional grip. |
| 30-48 | 6-12 | Large drawers or pantry doors, offering a substantial and comfortable handle for heavy-duty use. |
| Over 48 | 12-18 (or two pulls) | Extra-large drawers or oversized cabinets, ensuring ease of use and a balanced appearance. Consider using two pulls for better balance and ease of use. |
- Small Drawers (<12 inches): Opt for 3-4 inch pulls to maintain proportionality and avoid overwhelming the drawer’s appearance.
- Standard Drawers (12-30 inches): 4-6 inch pulls are typically ideal, providing a comfortable grip without dominating the design.
- Large Drawers (30-48 inches): Choose 6-12 inch pulls to ensure that the hardware is substantial enough to handle frequent use and the weight of the drawer’s contents.
- Extra-Large Drawers (>48 inches): For oversized drawers, 12-18 inch pulls provide the necessary leverage and durability, ensuring that the pulls are functional and aesthetically pleasing.
It is therefore important to consider the different types and sizes of drawer pulls to ensure that the right choices are made in order to improve the functionality and aesthetics of the cabinetry. Choosing the proper hardware is very important in achieving a harmonious and practical design in any area.
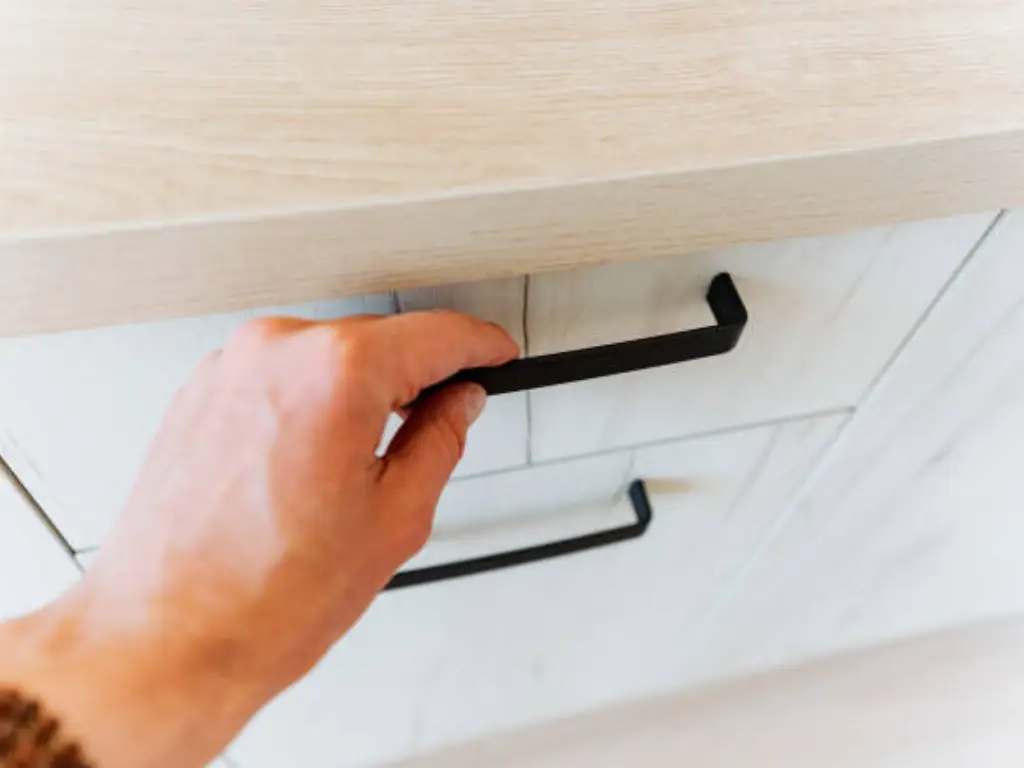
Choosing the Right Location for Drawer Pulls
Drawer pulls are essential in making your cabinetry aesthetically harmonious and functionally efficient. Where drawer pulls are mounted can greatly affect the appearance of the cabinet drawers and how easy they are to use. Usually, for the best accessibility and beauty balance, drawer pulls should be located on the top of the drawer, within the top one third of the drawer front. This allows a lesser effort in pulling open thus reducing fatigue that may be experienced when you have to stretch more towards a lower placement. On wider drawers however, handles should be placed in the center of the drawer horizontally to keep them looking balanced throughout their length. It is important to have these positions consistent across all your drawers so as to ensure uniformity over your kitchen or piece of furniture.
Other than aesthetic concerns, ergonomics also feature highly when selecting where to put drawer pull locations. Drawer pull locations need to take into account the height and range of motion of its users so that every family member can easily reach inside it. In an example given above about a kitchen setting; lowers could have pulls positioned slightly higher up so that bending is minimized whereas those on upper cabinets could have their pulls situated at a much lower level for easy grabbing while standing upright. For instance, if there are heavy or frequently-used cabinet drawers like those used in workshops or kitchens, it will be easier and more comfortable to open or close them by placing their handles where they provide maximum leverage. Furthermore, if your cupboards incorporate both cabinet drawers and doors, aligning the cabinet pulls in visually attractive and practical ways would greatly enhance space utilization as well as general look. By carefully planning where you place your drawer pulls then you will end up with a product that not only serves its purpose but also looks beautiful too; this will save you time as well.
Step-by-Step Guide to Installing Drawer Pulls
Step 1: Measuring for Placement
An accurate measurement is the root of a flawless hardware installation. Here’s a list of the tools you need:
- Tape Measure: For precise measurements.
- Pencil: To mark the placement points.
- Masking Tape: To create a temporary guide on the drawer fronts.
Use a tape measure to determine where your drawer pulls should go. The general rule for this placement is to place the hardware on the upper third part of the front drawer to optimize accessibility and aesthetic symmetry. On kitchen cabinets, consider “kitchen handle placement” as it impacts ergonomics in daily use. Now get a pencil and mark these measured points. Keep your measurements consistent across all your drawers for an equal look. Apply masking tape on your drawer fronts to guide you while drilling so that they don’t splinter.
Step 2: Marking the Drill Points

For this step, you will need:
- Template or Cabinet Hardware Jig: To ensure consistent marking.
- Pencil: For precise marking.
- Masking Tape: To protect the cabinet finish.
Having established where pulls would be inserted, use some masking tape to denote exact spots where drilling should be done. Then position the template or cabinet hardware jig above the masking tape but in line with marks that have been created only recently. Use the pencil to mark the first hole and other drill points through the template holes. Ensure measurement accuracy – precision here means no unsightly mistakes or uneven hardware. All pulls being aligned and evenly spaced are ensured through this step.
Step 3: Drilling the Holes
Before drilling, gather the following tools:
- Drill: For making the holes.
- Drill Bits: A bit that matches the size of the screws for the pulls.
- Scrap Piece of Plywood: To prevent the wood from splitting.
- Masking Tape: To create a depth guide on the drill bit.
Attach a drill bit matching screw sizes into your drill; place a scrap piece of plywood behind the drawer front so as not to split the wood. If necessary, wrap masking tape around the drill bit to serve as a depth guide to avoid drilling too deep. Drill slowly and steadily to maintain control of the wood so that it doesn’t get damaged. After holes are drilled, a small brush or piece of sandpaper can be used to remove splinters or burrs around the edges, preparing for pulls installation.
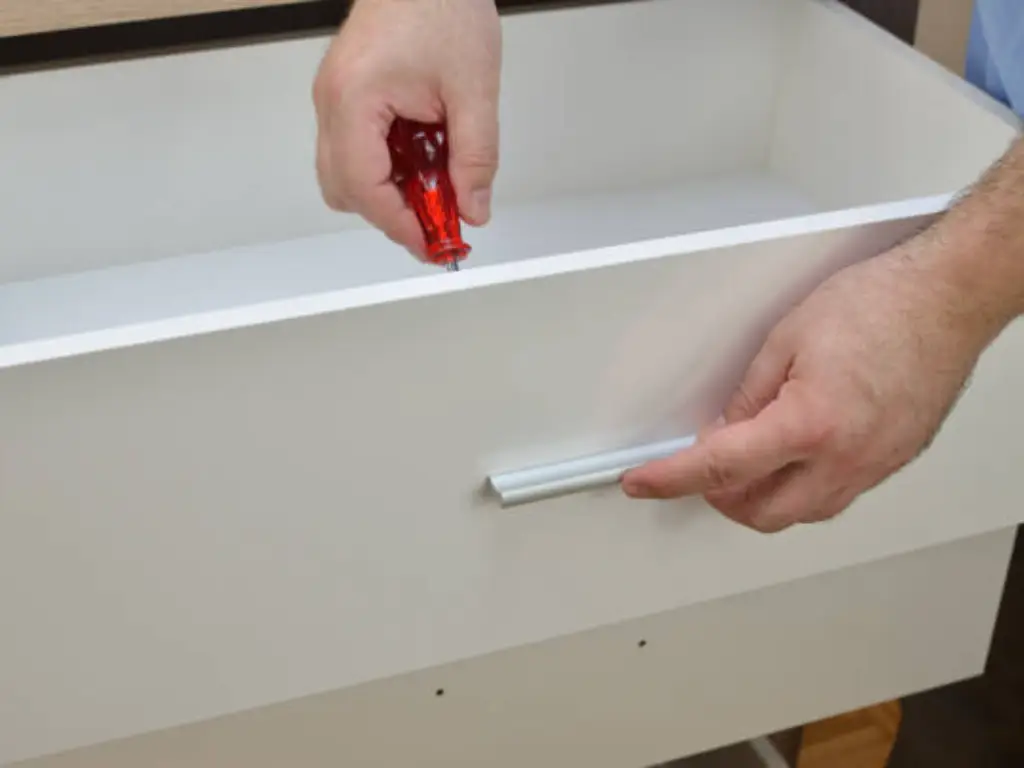
Step 4: Securing the Drawer Pulls
For securing the pulls, you will need:
- Drawer Pulls: Your selected hardware.
- Screws: Provided with the drawer pulls.
- Screwdriver: To manually tighten the screws.
- Level: To ensure the pulls are straight.
Align new cabinet pulls with the holes you have drilled. Insert screws inside the drawer front and start securing the pulls by screwing them into the existing screw holes or measuring and marking new screw hole locations. Use a screwdriver on your hands to manually tighten the screws – this prevents stripping screws or damaging wood and/or hardware. Make sure all pulls are well fastened and even with no gaps between them and drawers or cabinet doors. Use a level to check if all pulls are straight throughout. This final step makes your professional-grade installation hard-wearing but visually satisfying.
Extra Tips:
- If you are replacing old hardware with new cabinet pulls, you may need to use a piece of cardboard to create a true position template, covering the old holes to ensure the new hardware fits perfectly.
- For the middle of the drawer, especially on wider drawers, ensure the handle placement is balanced to maintain aesthetics and functionality.
- An easy way to ensure consistent placement is by using a pre-made template or jig for marking and drilling.
Tips for a Flawless Installation
To achieve a perfect installation when mounting cabinet hardware, you need to be careful and select the best way. Specifically, it is important to note that measurement should not be rushed through. This facilitates precise fittings since every pull or doorknob will have been placed in the right position by using a cabinet hardware jig, which can help in installing many pulls on drawers. Moreover, drill new holes for your hardware with consistent pressure as well as using the appropriate size of drill bit. Excessive use of force can make scratch marks on the wooden material of your cabinet or even cause slipping of the drill bit leading to misalignment of hardware which could spoil your kitchen or furniture.
The placing and proportioning of drawer pulls on different sized drawers can significantly affect both functionality and aesthetic appeal at large. Using longer handles or double pulls may be necessary for larger drawers so that they will look balanced but still function effectively. In addition, fancy looking knobs are good for big pieces of furniture such as dressers because they take care about their proportions with drawers’ width as far as this matters for cabinets’ exteriors also. Well-placed tool for exactness during fixing up a cabinet’s handle makes sure that results are symmetrical. When each piece of hardware is made specifically to fit its own drawer or door, you will have achieved an individualized look that looks expensive even though you might just be using standard-sized knobs and pulls.
Customizing Your Drawer Pulls
To personalize your drawer hardware will help to add character to your cabinets and furniture. The type of hardware you select can totally change the appearance of a room such as sleek stainless steel pulls for a modern look, or classic brass handles for a more traditional feel. There are numerous designs, materials, and finishes you may wish to experiment with. While brushed nickel has a soft sheen that does not hold fingerprints well, it Also has no smudges that make it functional yet appealing at the same time on the other hand, bright colored ceramic knobs can be used to accentuate pale kitchen space.

Similarly, think about how user friendly they are. For example, large heavy handles may have better grips thus making them suitable choices for deep drawers or households with old relatives or small children. Furthermore, there is also consideration of placement of cabinet hardware: handles placed slightly higher or lower affect the ergonomics of cabinet doors and drawers. Change pull sizes and their positions so that your storage spaces expose both your style and cater for basic everyday uses.
When remodeling new cabinets, various types of drawer hardware might be combined creating an unusual effect. Replacing old hardware with new designs can rejuvenate the entire look of your cabinetry while using old ones as well as buying new ones could all work when you put some thought into where you place them. Whether you’re working with old hardware or starting fresh with new cabinets thoughtful selection along with placement of hardware will ensure both functionality and aesthetic appeal.
Maintenance and Care for Drawer Pulls
To ensure your drawer pulls stay in top shape, proper maintenance and care are necessary. Routine cleaning should include high traffic areas such as the kitchen where the handles and knobs collect dirt and germs. Wipe the hardware with a mild liquid detergent on a soft cloth. Avoid any harsh chemicals that could strip off finishes or eat into metals. From time to time, it may be necessary to polish them especially if they are made of metal like copper or brass to maintain their glossy nature and prevent tarnish.
Also, check all hardware occasionally for screws that have become loose, and tighten them as necessary. This will not only protect against wear but secure properly functioning pulls without shaking or rattling sounds. In places where fittings can come undone due to repeated opening and closing over many years this is very important. Do these simple steps of care in order to add more years of life to the drawer pulls which will also make your cabinets look new all through contributing towards good looks as well as functionality in general terms for several decades after now.
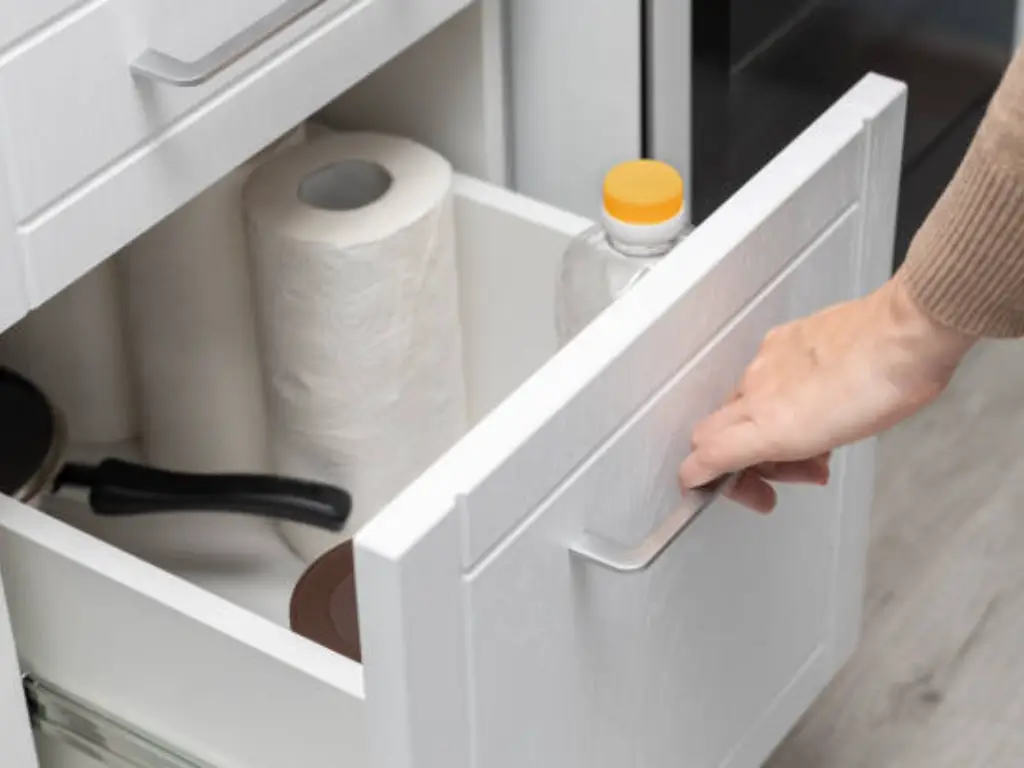
Conclusion
Putting drawer pulls in is a straightforward but effective do-it-yourself undertaking that improves the usefulness and visual worth of your furniture and cabinet fittings. With this detailed guide, you will be able to professionally install drawer pulls that are perfect for providing a finishing touch which matches with your home’s style. Keep in mind, being prepared, measuring precisely and adding personal touches ensures perfection.


