Introduction
The job of removing a door handle is very common among homeowners, for instance when they want to change the style or due to repairs. It’s important to have an idea of what should be done as well as the necessary tools when doing this so as not to waste much time and cause damages on the door. This guide has been developed to facilitate removal of different types of door handles, starting with simple interior ones up to more complicated latch mechanisms, thus ensuring smooth operation in all stages.
Essential Tools and Preparation Steps
To remove a door handle, you should know the right tools to be used for a successful process. The following are some basic tools that one should have: flathead screwdriver or Phillips head screwdriver depending on the kind of screws in the door handle. There are Allen wrenches and thin screwdrivers for such handles with hidden screws or grub-screws. Also, it is good to have a little slotted screwdriver that helps pry off cover plates and pop out latch mechanisms. These tools will come in handy especially when learning how to remove door handle from various types of doors.
Remove a door from its casing without calling repairmen by preparing correctly beforehand. First, establish what type of fasteners your door uses by inspecting them closely. Often there are visible screws on the interior side of the door while others have concealed screws or employ snap-on cover plates hiding their mounting screws. Spend a moment removing dirt and paint around the area where the doorknob is situated; sometimes these materials can make it difficult to identify and get at screws. Once you determine which type of fastener you need to deal with, safeguard the surrounding parts near your door with masking tape so as not to cause any scratches once this doorknob is taken off. By having proper tools along with preparing space for work, one stands chances to carry out an efficient, damage-free removal of his/her door handle.
Identifying Your Door Handle Type
- Lever Handles: These are often used on internal doors and may be secured with visible screws at the base or hidden grub screws accessible by an Allen wrench.
- Knob Handles: Typically found in older homes, these knobs often have a small hole on the side to access the release mechanism with a thin screwdriver or paperclip.
- Handles with Thumb Turn: Common in bathroom doors, these have a thumb turn on one side for privacy and often require special attention to the latch mechanism during removal.
Different door handles exist and they are designed to serve different purposes thereby presenting unique challenges in their removal. Lever handles are contemporary looking doors with ease of use that allow one simply grasp the handle, turn it and as such can be used for almost any type of a door except those that have more stringent security features. It is quite simple to remove them because normally they require nothing more than loosening a set screw using an Allen wrench or flathead screwdriver thus detaching the handle from its spindle. Consequently, this design and functionality simplicity has made lever handles become a popular choice especially in residential areas.
On the other hand, knob handles have a more conventional look and feel to them and are slightly more difficult to dismantle. These handles often have a small hole on the side, not for screws but for a pin that is used to unlock the handle. For a knob handle to be removed, one has to use a thin instrument like a paper clip or a pin to push or turn a button that is hidden in the hole to unlock the handle from the knob. Also, thumb turn handles, which are common in privacy applications such as bathrooms, are usually delicate in the interior thumb turn mechanism and should not be turned roughly. It is therefore important to identify the correct type of door handle to avoid damaging the door and the handle as well as to facilitate the removal process. It is crucial to pay much attention to the type of handle and the particular way of its removal while performing the action, which should be quite simple in fact.
Safety Measures for Handle Removal
- Wear Protective Gloves
- Apply Lubricant to Rusted Components
- Ensure Adequate Lighting
- Keep the Work Area Clear
- Use the Correct Tools
- Secure the Door
In taking off a door handle, they must prioritize safety in order to have an injury less and smooth process. The first thing to do is to put on protective gloves which shall cover your hands from sharp edges preventing such injuries as may be caused by unexpected discharge of springs and pins. They also improve the grip as well as protect against irritants like rust and old lubrications. If a door handle seems old or rusty, it is recommended to apply a lubricant such as WD-40 since it will help make tight parts loosen up making them easier to disassemble and reduce chances of damaging them.
Proper lighting should be provided in the working area for avoiding accidents as well as seeing each component of the door handle clearly including small possible screws or release systems. To prevent accidents, keep your work-space clean and organized with the use of appropriate tools that are designed for handle removal only thus minimizes the risks of personal injuries and damages on both doors and handles. These precautions further caution you about securing your door from sudden movements through either wedging it open or someone holding it; this would reinforce safety measures. Lastly, always take into account that if you are working in areas where children could access or pets can reach, keep all tools and loose parts out of their reach so that no incidents occur. In conclusion, these tips will enable you safely remove a door’s handle without any hassles while still maintaining its originality.
Step-by-Step Guide to Loosen the Handle
Step 1: Loosening the Handle Screws
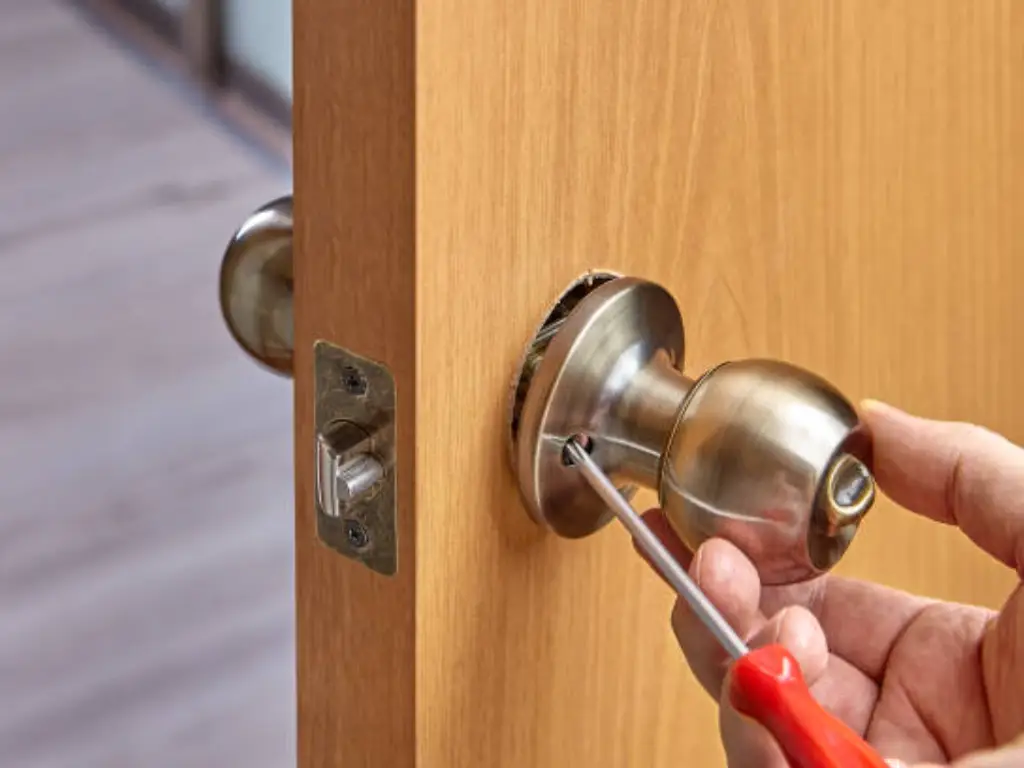
Look for screws that are holding the door handle to the door. They mostly appear on the inner part of the door surface. Get a right screwdriver, either flathead or Phillips, as required by the screw heads and gently take off these screws. If your door handle is concealed with a cover plate covering the screws, then use a flat head screwdriver to softly pry it open so that you can see through where they are hidden. The aforementioned is done in order to make sure that you expose below them some screwing points. To unscrew handles attached with grub, examine their sides or surfaces where there is often a small hole noticed. For one to unfasten this kind of handle one should place an Allen wrench into this opening and twist that tool thereby loosening grub screw inside it. This action is essential because it allows the user to remove handles from doorknobs which must be done before further steps are taken.
Step 2: Detach the Handle from the Door
Now that all screws are loose or have been removed, gently pull the handle off the door. If it resists, confirm if there are no other fasteners keeping it in place. The handle may sometimes require a slight jiggling or rotation to disconnect it from the spindle. Be careful to avoid much strength which might break both the door and the handle.
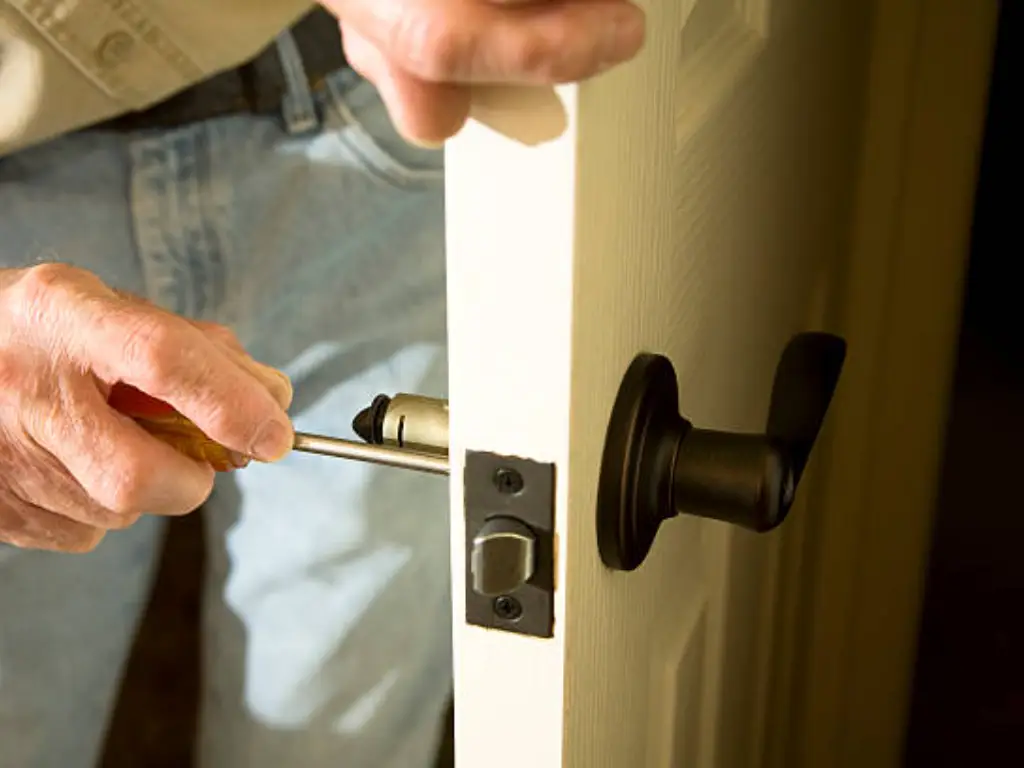
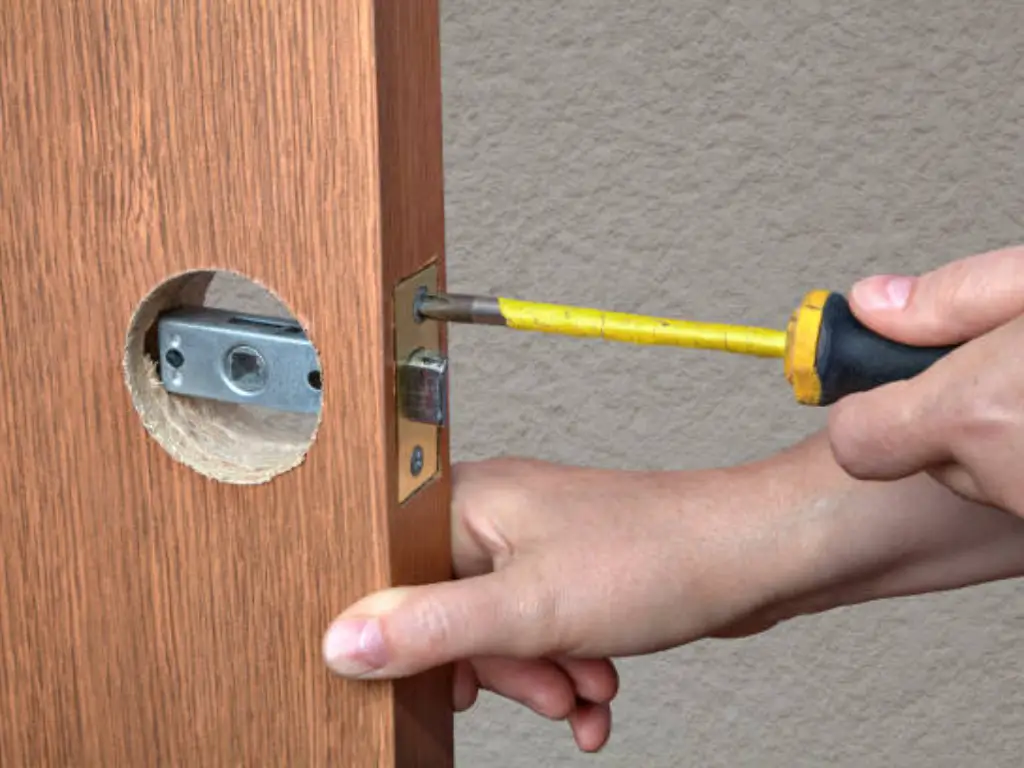
Step 3: Removing the Internal Mechanism
The next step is to attend on the lock itself or whatever it is that actually locks it. Check for any other screws or fasteners along the door’s edge that could be holding the latch assembly in place. Remove them with a screwdriver. Pull out the latch mechanism, making sure to observe how it fits and where each part goes. Whether you decide to put back the old mechanism or get a new one, this information will provide a solid foundation for your work because if done wrong may lead to damage of the door frame. Thus, understanding of these parts’ arrangement and location are highly necessary for correct replacement into their original positions during reinstallation hence such situation can be avoided after removal and securing of doorknobs respectively.
Handle with Non-Screw Door Handle
| Step | Description |
| Locate the Release Mechanism | Examine the handle closely to find the small slot or hole, usually on the side or underside. This is for the release mechanism that locks the handle to the spindle. |
| Activate the Release Mechanism | Insert your tool into the slot or hole. Press or push on the hidden button or lever inside. Probe to find the exact position, applying gentle pressure until it releases. |
| Slide the Handle Off | Hold the handle firmly and slide it off the spindle. If it resists, ensure the release is fully disengaged and try pressing again. |
| Handle with Care | Be careful not to jerk or pull too harshly as this could damage the mechanism or door. Keep the handle and spindle aligned to avoid bending internal components. |
| Inspect the Components | After removing the handle, inspect the spindle and any exposed parts for damage or wear. Clean and lubricate the mechanisms before installing a new handle or replacing the old one. |
To prevent damage, it is important to be careful when removing a modern door handle that does not have visible screws. The first thing is to examine the handle closely in order to find a small slot or hole usually found on the side or underneath of the handle. This acts as an entry point where you can insert a thin device such as a paperclip or small screwdriver. Place it in the slit and push gently until you find the button inside or an internal lever with gentle pressure . You may have to move your tool around until it locks up releasing mechanism which causes clicking noise or sudden feel of loss of tension.
After the mechanism is activated, keep the handle steady and slip it off of the spindle carefully aligned so as not to strain any part. Double-check if the handle refuses to come off that the mechanism has been completely disengaged before attempting its release again. When the handle has been removed, check for indications of wear or damage on the spindle and other parts that are visible. The moment can also be used to clean and lubricant internal mechanisms so as to facilitate smooth operation afterwards. If handled with care and with an eye for detail during this process, this will prevent unnecessary damages thereby enabling a successful removal and reinstallation of door handles.
Dealing with Stuck or Old Handles

- Assess the Situation: Primarily inspect the latch to see if there are any obvious reasons that might be causing it to get stuck, such as paint over it or visible rust.
- Apply Penetrating Oil: If the handle seems to stick due to paint, rust or dirt, one can apply some WD-40 penetrating oil around the door’s handle. Pay attention to the area with moving parts and screws. Let it sit for several minutes so that it can penetrate into narrow spaces thus freeing any deposit that hinders free movement of the handle.
- Attempt to Remove Again: At this point, you should try another time by pulling or twisting the handle off with a steady but moderate force. Do not exert excessive pressure which may lead to damages on either door or knob.
- Use a Rubber Mallet: If the knob is still immovable however, using a rubber mallet will help dislodge it from its place softly pounding around its base. This will facilitate shaking up of anything solidifying it like rusting paint and other forms of debris. Be careful not to hit too hard since this might dent or scratch surfaces of both door and handle.
- Reapply Lubricant if Necessary: Whereby moving an inch is impossible especially if lubricants were used before, then more penetrating oils should be applied and given enough time to work through larger areas. Make sure you heat up hair drier slightly so that metal expands enabling lubricant sink farther down.
- Check for Hidden Screws or Fasteners: Some times; there might be a hidden screw or fastener holding back your stuck knob. Take extra caution on these unseen parts that could still hold on your knob tightly.
Tips to Prevent Damage During Removal
To avoid damaging your door handle, initially determine how the handle is connected to the door by analyzing it carefully and gently trying it out in order to acquaint oneself with its operation before applying full force. Use the right tools that match screws and fasteners; for example, if you have Phillips head screws, utilize a Phillips screwdriver to prevent stripping them. To shield the door’s finish from getting marred or scratched cover an area around the handle using masking tape as a buffer. If you are unsure of what type of handle or mechanism is involved, consider looking at manufacturer’s instructions or searching on the internet for a guide specific to your model so that you do not err. Before proceeding with an upgrade, check the condition of the door knob and ensure that the screw holes are aligned properly for a smooth installation.
Finishing Touches After Removing
After the door handle has been removed, ensure that you check the door for any signs of marks, scratches, or residue left behind. Wipe the area where the handle was mounted with a soft cloth and mild detergent to ensure that there is no dirt or oil on the surface. If there are any gaps left and you do not intend to reinsert a handle, use wood filler to ensure a polished look. Make sure that when fixing a new handle it fits well and that all its components like the catch or lock are rightly located in respect of a door’s inner parts for ease of operation.
Troubleshooting Common Issues
While removing a doorknob, you might come across some typical problems like stripped screws or frozen handles. To deal with a stripped screw, put a rubber band between the screwdriver and the head of the screw; this creates more friction while turning it outwards. If the handle appears to be stuck with something penetrating oil can be applied at its base where it touches the door surface to free any rust or dirt that may have accumulated there. Leave them for several minutes to allow oil go in before trying again. When these methods fail, it is wise to consider an expert’s help so as not to worsen the damage already done to its structure.
Conclusion
It is easy to remove a doorknob if one has the right equipment and is well informed. If you follow such instruction, you will be able to handle it without any worry; therefore, making it quick and efficient. In upgrading to a new handle or fixing an old one, the ability to remove a door handle correctly is valuable for homeowners or anyone who enjoys do-it-yourself tasks.


